Marie Callender’s Frozen Pie Crust offers a convenient and delicious shortcut for homemade pies. Made from scratch with no artificial preservatives, it ensures a flaky, golden-brown finish every time.
Overview of Marie Callender’s Frozen Pie Crust
Marie Callender’s Frozen Pie Crust is a convenient, high-quality option for homemade pies. Made from scratch with no artificial preservatives, it offers a flaky, golden-brown texture. Perfect for both novice and experienced bakers, it comes in a reusable pie pan, making it easy to achieve professional results at home. The crust is designed to save time while delivering the taste of a freshly baked pie, ideal for desserts, savory dishes, or creative fillings.
Benefits of Using Frozen Pie Crusts
Frozen pie crusts like Marie Callender’s offer unmatched convenience, saving time without compromising quality. They eliminate the need for homemade dough preparation, ensuring consistency and reducing kitchen stress. Perfect for both novice bakers and busy households, these crusts provide a flaky, golden-brown finish. With no artificial preservatives, they cater to health-conscious bakers. Their pre-made design allows for easy customization, making them ideal for various fillings and occasions, from desserts to savory dishes, while delivering a homemade taste effortlessly.
Thawing the Frozen Pie Crust
Thaw Marie Callender’s Frozen Pie Crust in the refrigerator overnight or at room temperature for 30-60 minutes. Keep it cold to maintain pliability and prevent sticking.
Refrigerator Thawing Method
For the refrigerator thawing method, place the frozen pie crust in the fridge overnight or for 6-8 hours. This slow thawing process ensures even relaxation of the dough, minimizing cracks. Keep the crust in its original packaging or wrap it tightly in plastic wrap to prevent drying out. Once thawed, the crust will be pliable and ready to use. Avoid stretching or pulling the dough when placing it in the pie dish, as this can cause shrinkage during baking. This method is ideal for preventing tears and maintaining the crust’s integrity.
Countertop Thawing Method
For a quicker thaw, place the frozen pie crust on the countertop at room temperature for 30-60 minutes. Monitor closely to ensure it becomes pliable but remains cold. Over-thawing can make the dough sticky and difficult to handle. Once thawed, unwrap gently and place in the pie dish without stretching. This method is perfect for time-sensitive baking, offering a convenient alternative to refrigerator thawing while maintaining the crust’s quality and texture for a delicious homemade pie. Always keep the crust cold to prevent sticking or tearing.
Preparing the Pie Crust for Baking
Gently place the thawed crust in the pie dish, ensuring it fits snugly. Pre-bake if needed, following package instructions for a perfectly flaky and golden crust.
Placing the Crust in the Pie Dish
Gently unwrap the thawed crust and place it into the pie dish, ensuring it fits snugly. Avoid stretching or pulling the dough, as this can cause shrinkage during baking. Press the crust into the corners and up the sides of the dish. Trim any excess dough from the edges using a knife or your fingers. Crimp the edges to form a decorative border. This step ensures the crust holds its shape and bakes evenly, providing a sturdy base for your filling.

Pre-Baking the Crust
Pre-baking, or blind baking, is essential for pies with unbaked fillings. Prick the crust’s bottom with a fork to prevent puffing. Line with parchment paper, fill with pie weights, and bake at 375°F for 15-20 minutes. Remove weights and parchment, then bake for 5-10 minutes until golden. Let cool before adding filling. This ensures a crisp, non-soggy base, perfect for cream or custard pies. Proper pre-baking guarantees a professional finish and enhances the overall texture of your pie.
Baking Instructions for Different Pie Types
Baking instructions vary by pie type. Fruit pies bake at 375°F for 45-60 minutes, while custard pies require 325°F for 45-60 minutes. Pecan pies bake at 350°F for 50-60 minutes.
Fruit Pies Baking Guidelines
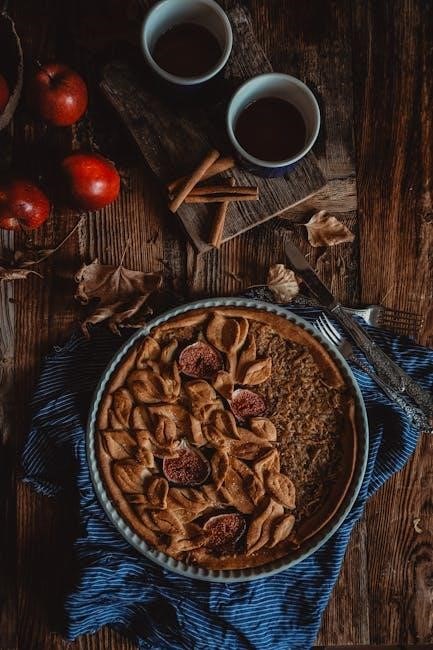
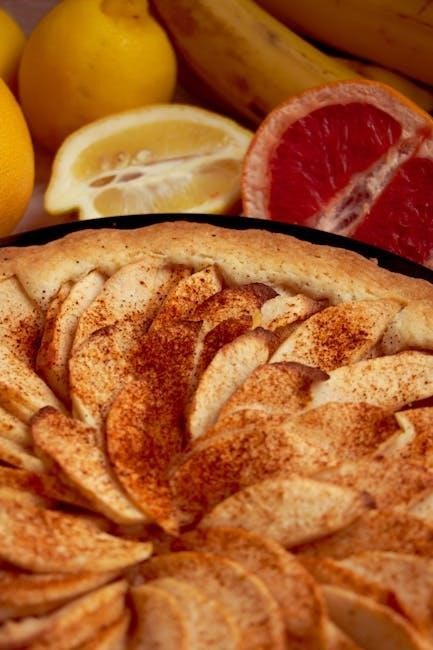
Bake fruit pies at 375°F for 45-60 minutes, or until the crust is golden and the filling bubbles. Pre-bake the crust with pie weights and parchment paper for 15-20 minutes. Let it cool before filling. For pies with high-moisture fillings, like apple or cherry, ensure the crust is fully pre-baked to avoid sogginess. Tent the edges with foil if browning too quickly. The filling should thicken slightly but still be bubbling when done. This ensures a perfectly cooked crust and filling combination.
Custard Pies Baking Techniques
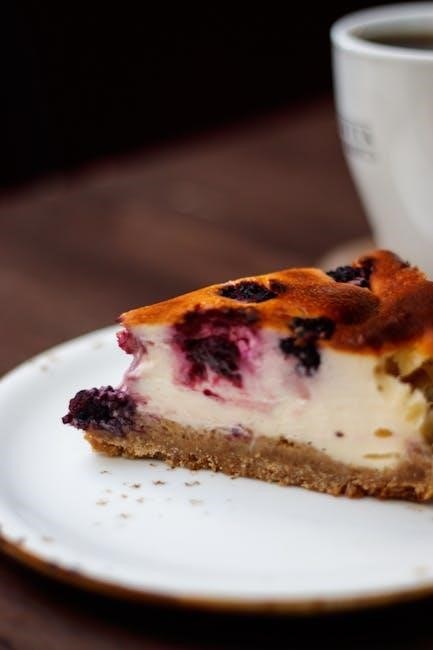
Bake custard pies at 325°F for 45-60 minutes, or until the edges are set but the center remains slightly wobbly. Use a water bath to maintain humidity and prevent cracking. Place the pie in a larger dish filled with hot water halfway up the pie plate. Avoid over-baking, as custard can curdle. Let the pie cool slowly to prevent cracking. This method ensures a smooth, creamy texture and a perfectly baked crust. Ideal for pies like pumpkin or chocolate cream.
Pecan Pies Baking Tips
Bake pecan pies at 350°F for 50-60 minutes, or until the filling is set around the edges but slightly soft in the center. Tent the crust with foil during the last 15-20 minutes to prevent burning. Ensure the crust is pre-baked if using a filling that doesn’t require baking. Pour the filling directly into the frozen crust for convenience. Let the pie cool before serving to allow the filling to set properly, ensuring a gooey yet stable texture. Perfect for achieving a crunchy pecan topping and a flaky crust.
Decorating the Pie Crust
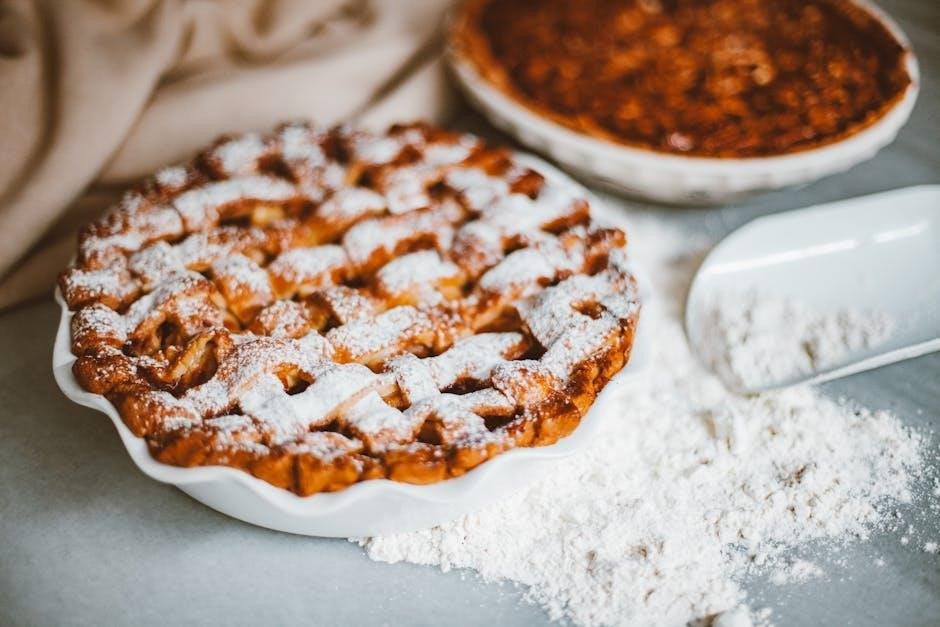
Elevate your pie’s appearance with crimping, fork patterns, or decorative dough cutouts. Brush with an egg wash for a golden finish, adding a professional touch effortlessly.
Crimping Techniques for a Perfect Edge
Crimping enhances both the appearance and structure of your pie crust. Use a fork to press a decorative pattern along the edge or pinch the dough with your fingers for a scalloped look. For a polished finish, brush the crimped edge with an egg wash (beaten egg mixed with water) before baking. This technique not only adds visual appeal but also helps seal the crust, preventing filling leakage during baking. Experiment with different crimping styles to create a personalized touch for your pie.
Creative Crust Decorations
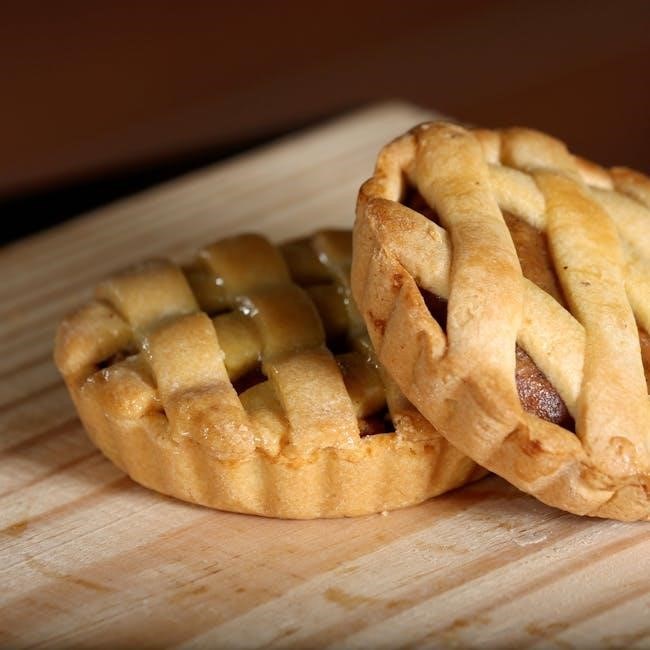
Elevate your pie’s presentation with creative crust decorations. Use cookie cutters to cut out shapes from leftover dough, arranging them on top for a personalized touch. Try braiding strips of dough for a elegant border or use a knife to create intricate designs. Brush the crust with an egg wash for a golden finish. These decorative elements add visual appeal and make your pie stand out, whether it’s for a special occasion or a cozy family gathering.
Common Issues and Solutions
Address common pie crust challenges like cracks, sogginess, or burnt edges with simple fixes. Proper thawing, pie weights, and foil tenting ensure a perfect, stress-free baking experience.
Preventing Cracked Crust
To prevent a cracked crust, thaw Marie Callender’s Frozen Pie Crust slowly in the refrigerator for 6-8 hours or at room temperature for 30-60 minutes. Avoid over-thawing, as it makes the dough sticky. Handle the crust gently when placing it in the pie dish, avoiding stretching or pulling; If cracks occur, press the dough back together or patch with excess dough. Pricking the bottom with a fork before baking can also help prevent cracking during the baking process.
Fixing a Soggy Bottom Crust
A soggy bottom crust can be prevented by pre-baking the crust. Line it with parchment paper, add pie weights, and bake at 375°F for 15-20 minutes. Remove weights and bake 5-10 minutes more. For extra protection, brush the bottom with melted chocolate or an egg white before adding filling. Baking the pie on the lowest oven rack also helps crisp the crust. These steps ensure a dry, golden base for your pie, enhancing both texture and flavor.
Avoiding Burnt Edges
To prevent burnt edges, tent the crust with aluminum foil during the last 15-20 minutes of baking. Use pie shields or cover edges with foil strips. Brushing the crust with an egg wash before baking can also help protect it. For pies requiring longer baking times, like fruit pies, monitor the crust closely and adjust coverage as needed; These methods ensure golden, evenly baked edges without burning, enhancing the pie’s appearance and texture.
Creative Filling Ideas
Explore sweet and savory fillings with Marie Callender’s crust. Try chicken pot pie, shepherd’s pie, or decadent desserts like chocolate peanut butter or lemon meringue for unique flavors.
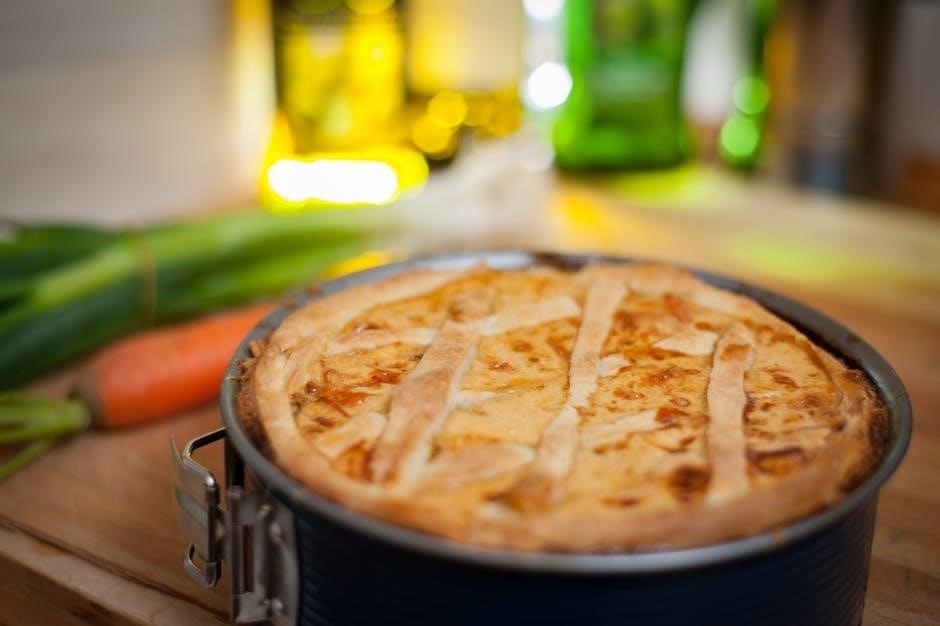
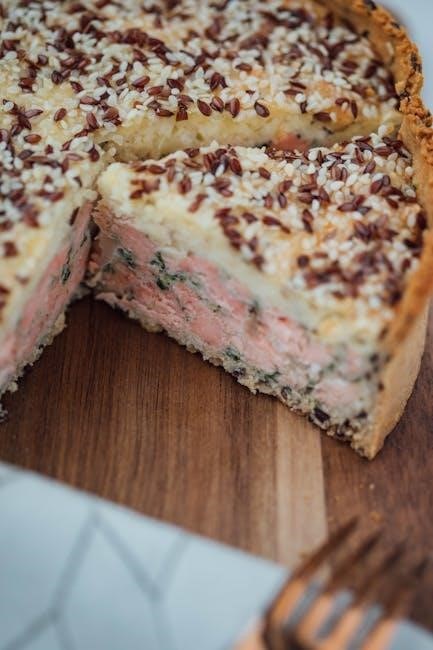
Savory Pie Fillings
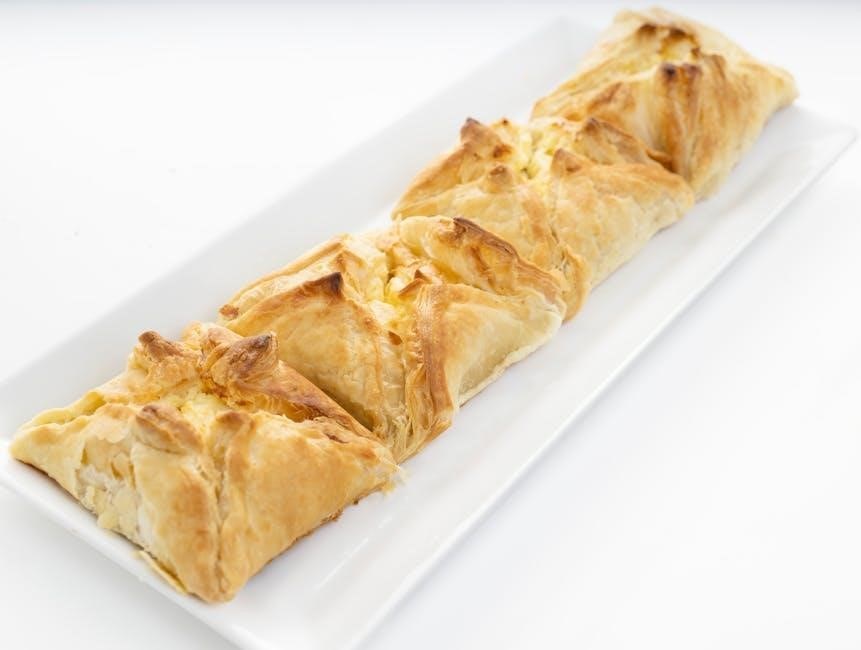
Marie Callender’s crust is perfect for savory creations like chicken pot pie, shepherd’s pie, or vegetable quiche. For chicken pot pie, mix cooked chicken, veggies, and creamy sauce. Shepherd’s pie layers seasoned ground meat and mashed potatoes. Quiche combines eggs, cheese, and vegetables for a brunch favorite. Pre-bake the crust for a crisp base, ensuring a golden, flaky texture that complements hearty fillings. These savory options offer delicious alternatives to sweet pies, making the crust versatile for any meal.
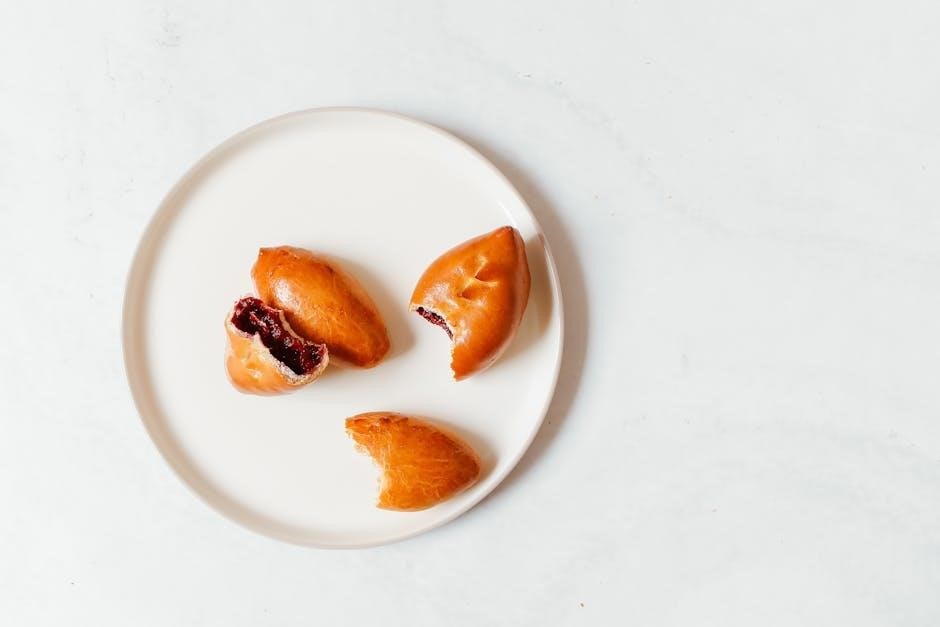
Dessert Pie Fillings
Indulge in classic desserts with Marie Callender’s crust. Try a chocolate peanut butter pie with a creamy filling, or a tangy lemon meringue pie. For a twist, add salted caramel to apple pie or mix berries for a crumble pie. Pre-bake the crust for a crisp base, then fill and bake until golden. These sweet creations offer endless possibilities, ensuring a delicious, homemade-tasting dessert every time with minimal effort.
Unique Flavor Combinations
Elevate your pie game with creative flavor combinations. Try a salted caramel apple pie for a sweet and tangy twist, or mix berries with a buttery crumble topping. For chocolate lovers, a peanut butter filling offers a rich, decadent treat. Experiment with unique pairings like raspberry basil or mango jalapeño for a surprising zing. Marie Callender’s crust is the perfect base for these innovative flavors, allowing you to craft one-of-a-kind desserts that impress and delight.
Storage and Serving Tips
Store leftover pie in the refrigerator for 3-4 days or freeze for 2-3 months. Serve at room temperature or slightly warmed, paired with ice cream or whipped cream.
Storing Leftover Pie
Store leftover pie in the refrigerator for up to 3-4 days by wrapping it tightly in plastic wrap or placing it in an airtight container. For longer storage, freeze the pie by wrapping it securely in plastic wrap and then aluminum foil. Frozen pies can be kept for 2-3 months. When ready to serve, thaw frozen pies overnight in the refrigerator. This method ensures the pie remains fresh and retains its flavor and texture.
Serving Suggestions
Serve your pie at room temperature or slightly warmed for the best flavor. Pair it with a scoop of vanilla ice cream or a dollop of whipped cream for a classic treat. For a festive touch, sprinkle powdered sugar on top or garnish with fresh berries. Consider adding a drizzle of caramel or chocolate sauce for dessert pies, or a side of roasted vegetables for savory options. These simple enhancements elevate the presentation and flavor, making your pie a standout dish for any occasion.