
Welcome to the Honeywell Pro 3000 Installation Manual, your comprehensive guide for installing and configuring the thermostat․ This manual provides detailed instructions, system requirements, and troubleshooting tips to ensure a smooth setup․ Download the PDF version from official sources for easy access and proper installation․ Adobe Reader is required to view the manual․
1․1 Overview of the Honeywell Pro 3000 Thermostat
The Honeywell Pro 3000 is a non-programmable digital thermostat designed for precise temperature control in residential and commercial settings․ It regulates heating and cooling systems efficiently, ensuring optimal comfort․ Part of the Honeywell Pro Series, this thermostat is known for its user-friendly interface and compatibility with various HVAC systems, including 1 Heat/1 Cool and 2 Heat/1 Cool heat pump configurations․ The device features straightforward temperature adjustment buttons and a clear display for easy operation․ Its compact design and reliable performance make it a popular choice for smart home upgrades and traditional installations alike․
1․2 Importance of Following the Installation Manual
Following the Honeywell Pro 3000 installation manual is crucial for ensuring a safe and proper setup․ Incorrect installation can lead to equipment damage, safety hazards, or system malfunctions․ The manual provides step-by-step instructions tailored to the thermostat’s specifications, helping users avoid common errors․ It also includes troubleshooting tips to address potential issues during or after installation․ Adhering to the guidelines ensures optimal performance, energy efficiency, and compatibility with your HVAC system․ For assistance, refer to the official PDF manual or contact Honeywell Customer Care at 1-800-468-1502․
System Requirements and Compatibility
The Honeywell Pro 3000 is compatible with various HVAC systems, including 1 Heat/1 Cool and 2 Heat/1 Cool heat pump configurations․ Ensure compatibility with your wiring setup and system type for proper installation and functionality․ Refer to the manual for specific requirements to avoid installation issues and ensure optimal performance․
2․1 Compatible Heating and Cooling Systems
The Honeywell Pro 3000 thermostat is designed to work with a variety of heating and cooling systems, including gas, oil, and electric systems․ It is compatible with 1 Heat/1 Cool and 2 Heat/1 Cool heat pump configurations, making it versatile for different HVAC setups․ Additionally, it supports dual-fuel systems, ensuring efficient temperature control․ Always verify your system type and wiring configuration before installation to ensure proper compatibility and functionality․ This thermostat is ideal for upgrading your home’s climate control system with precise temperature management capabilities․
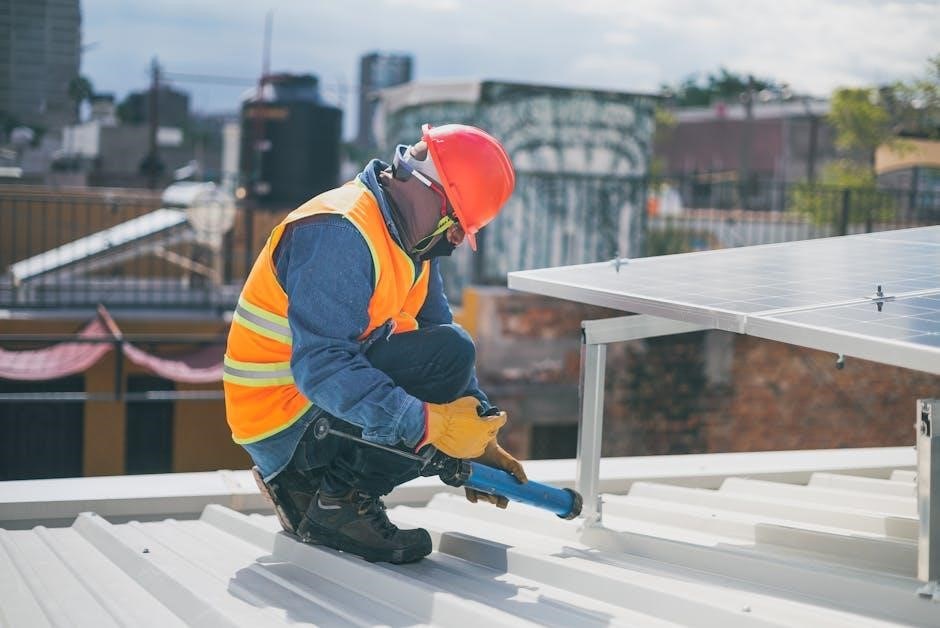
2․2 Necessary Tools and Materials for Installation
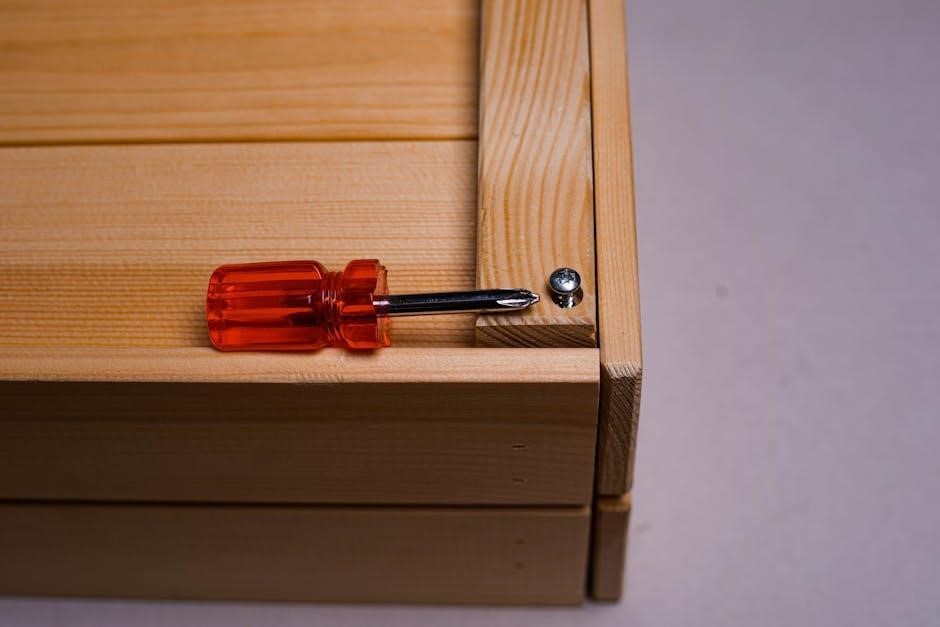
To install the Honeywell Pro 3000 thermostat, you will need a few essential tools and materials․ A screwdriver (both flathead and Phillips) is required for removing the old thermostat and mounting the new wallplate․ Pliers and wire strippers may be necessary for wiring adjustments․ Additionally, ensure you have mounting screws, wall anchors, and a pencil for marking hole positions․ A level is recommended to ensure the wallplate is properly aligned․ Having these tools and materials ready will help ensure a smooth and successful installation process without delays․
Pre-Installation Preparation
Before installation, ensure compatibility with your HVAC system and configure settings․ Understand thermostat components, follow safety guidelines, and prepare the area for a smooth setup process․
3․1 Understanding the Thermostat Components
The Honeywell Pro 3000 thermostat consists of a wallplate, display screen, temperature control buttons, and wiring connections․ The wallplate is mounted on the wall and holds the thermostat unit․ Wires connect the thermostat to your HVAC system, enabling communication and control․ The display screen shows current temperature, settings, and system status․ Temperature buttons allow you to adjust heating and cooling levels․ Familiarizing yourself with these components ensures proper installation and operation․ Understanding each part’s function helps in troubleshooting and maintaining the thermostat effectively․
3․2 Safety Precautions and Guidelines
Before installing the Honeywell Pro 3000 thermostat, ensure the power to your HVAC system is turned off to avoid electrical hazards․ Handle wires carefully to prevent damage․ Avoid forcing components into place, as this may cause breakage․ Use the correct tools and materials specified in the manual․ Keep the thermostat away from direct sunlight and moisture․ Replace batteries with the recommended type to maintain functionality․ Follow all safety guidelines to ensure a safe and successful installation․ Proper adherence to these precautions will help prevent equipment damage and ensure optimal performance․

Installation Process
Mount the wallplate, pull wires through the hole, and position it level on the wall․ Install the thermostat unit, ensuring proper wiring connections․ Follow the manual for configuration and troubleshooting steps to complete the setup successfully․
4․1 Mounting the Wallplate
Begin by removing the wallplate from the thermostat unit․ Pull the wires through the wire hole and position the wallplate on the wall, ensuring it is level․ Mark the hole positions with a pencil and secure the wallplate using the provided screws․ Tighten firmly to ensure stability․ Once mounted, connect the wires according to the wiring diagram in the manual․ Ensure all connections are secure to avoid malfunctions․ If unsure, refer to the official Honeywell Pro 3000 installation guide or contact customer support for assistance․
4․2 Wiring the Thermostat
Connect the wires to the appropriate terminals on the wallplate, ensuring they match the wiring diagram in the manual․ Pull the wires through the wire hole and secure them tightly․ Refer to the terminal labels (e․g․, R, W, Y, G, C) to avoid incorrect connections․ Double-check the wiring configuration to match your HVAC system type․ If unsure, consult the official Honeywell Pro 3000 installation guide or contact a licensed electrician․ Proper wiring is crucial for safe and efficient thermostat operation․
4․3 Installing the Thermostat Unit
Once the wallplate is mounted and wired, align the thermostat unit with the wallplate, ensuring it fits securely․ Gently push the unit onto the wallplate until it clicks into place․ Verify that the thermostat is level to ensure accurate temperature control․ Check that all wires are properly seated and not pinched․ Refer to the official Honeywell Pro 3000 manual for specific alignment instructions․ After installation, test the system to confirm proper functionality․ If issues arise, consult the troubleshooting section or contact a professional for assistance․
Configuration and Setup
Configure the Honeywell Pro 3000 by pressing and holding the ‘s’ and ‘t’ buttons to access settings․ Customize features to match your system requirements for optimal performance․
5․1 Configuring the Thermostat Settings
To configure the Honeywell Pro 3000 thermostat settings, press and hold the ‘s’ and ‘t’ buttons until the display changes․ Use the up and down arrows to navigate through options like temperature range, heating/cooling system type, and fan settings․ Customize features such as adaptive recovery and smart response to optimize performance․ Ensure settings match your HVAC system configuration for proper operation․ Save changes by following on-screen prompts․ Proper configuration ensures efficient temperature control and system compatibility, enhancing overall comfort and energy efficiency․
5․2 Customizing Features and Options
Customize the Honeywell Pro 3000 thermostat to suit your preferences․ Adjust temperature limits, fan settings, and display options for personalized comfort․ Enable features like adaptive recovery, which learns your system’s behavior for efficient heating and cooling․ Set smart response to optimize performance based on your HVAC system․ Access advanced settings by pressing and holding the ‘s’ button, then navigating with the ‘t’ button․ Refer to the official manual for detailed instructions on configuring these options to enhance energy efficiency and system compatibility․ Proper customization ensures optimal performance tailored to your home’s needs․

Troubleshooting Common Issues
Troubleshoot common issues like wiring problems or display malfunctions․ Check connections, restart the thermostat, and consult the manual for detailed solutions․ Ensure optimal setup and functionality․
6․1 Identifying and Resolving Wiring Issues
Identify wiring issues by checking for loose connections or incorrect wire assignments․ Ensure the power is off before inspecting․ Refer to the wiring diagram in the manual to verify proper connections․ If the display malfunctions, restart the thermostat․ For persistent issues, consult the troubleshooting section or contact Honeywell support․ Proper wiring is crucial for optimal performance, so double-check all connections before proceeding with installation․
6․2 Addressing Display or Functionality Problems
If the display is malfunctioning, restart the thermostat by removing and reinstalling the batteries․ Ensure all settings are correctly configured․ If the issue persists, check for proper installation and wiring connections․ Refer to the manual for troubleshooting steps; For functionality problems, verify system compatibility and settings․ If issues remain unresolved, consult the official Honeywell Pro 3000 manual or contact customer support for assistance․ Regular updates and proper maintenance can prevent such issues and ensure optimal performance․
Maintenance and Upkeep
Regularly clean the thermostat display and check for dust buildup․ Replace batteries as indicated to ensure proper functionality․ Follow the manual’s guidelines for optimal performance․
7․1 Cleaning the Thermostat
Regular cleaning ensures optimal performance and longevity of your Honeywell Pro 3000 thermostat․ Use a soft, dry cloth to gently wipe the display and exterior surfaces․ Avoid harsh chemicals or liquids, as they may damage the device․ For tougher dust or debris, lightly dampen the cloth with water, but ensure it is not soaking wet․ Never spray cleaning products directly on the thermostat․ Clean the vents and surrounding areas to maintain proper airflow․ Power off the thermostat before cleaning to prevent any accidental damage or electrical issues․
7․2 Replacing Batteries
To maintain uninterrupted operation, replace the Honeywell Pro 3000 thermostat batteries when the display indicates low battery levels․ Use fresh, high-quality AAA alkaline batteries for optimal performance․ Pull the thermostat from the wallplate to access the battery compartment․ Insert the new batteries ensuring correct polarity, as indicated by the diagram inside the compartment․ Avoid mixing old and new batteries․ Once replaced, reattach the thermostat to the wallplate and test functionality by adjusting the temperature settings․ Proper battery replacement ensures accurate temperature control and prevents system malfunctions․

Additional Resources
Access the official Honeywell Pro 3000 manual via their website or authorized distributors․ For further assistance, visit customer․honeywell․com or call Honeywell Customer Care at 1-800-468-1502․
8․1 Accessing the Official Honeywell Pro 3000 Manual
The official Honeywell Pro 3000 manual is available for download as a PDF from Honeywell’s website or authorized distributors․ Ensure you access it from trusted sources to avoid unauthorized versions․ The manual provides detailed installation instructions, system requirements, and troubleshooting guides․ Adobe Reader is required to view the document․ Visit the official Honeywell website or customer․honeywell․com for direct access․ This resource is essential for a successful installation and understanding thermostat functionality․
8․2 Manufacturer Support and Customer Service
Honeywell offers comprehensive support for the Pro 3000 thermostat; For assistance, visit customer․honeywell․com or call their toll-free customer care at 1-800-468-1502․ This service provides troubleshooting, installation guidance, and general inquiries․ Honeywell’s dedicated team ensures reliable support to address any issues promptly․ Additionally, the official website offers resources, including manuals and FAQs, to help users resolve common problems independently․ This robust support system ensures a seamless experience with the Honeywell Pro 3000 thermostat․