
Welcome to the Boxy Top Sewing Pattern, a versatile and stylish design perfect for beginners and experienced sewists alike. This free PDF pattern offers a modern, relaxed fit with endless customization options, making it a great addition to any wardrobe. Easy to follow and requiring minimal fabric, it’s an excellent project for those looking to create a chic, comfortable top quickly and affordably.
What is a Boxy Top?
A boxy top is a loose-fitting, straight-cut garment with a relaxed silhouette and minimal shaping. It typically features a dropped shoulder, a relaxed chest, and a straight hem, creating a comfortable, oversized look. The design is simple yet versatile, making it suitable for casual or semi-formal occasions. Boxy tops often have a modern, minimalist aesthetic and can be styled in various ways, from layering under cardigans to wearing on their own; The pattern is ideal for sewists of all skill levels, as it requires fewer fittings and offers a forgiving fit. Its simplicity and comfort make it a popular choice for everyday wear.
Why Choose a Free PDF Pattern?
Opting for a free PDF pattern offers unparalleled convenience and accessibility. Download and print the pattern instantly from the comfort of your home, saving time and shipping costs. Free PDF patterns are ideal for budget-conscious sewists or those experimenting with new designs. They often include multiple sizes, allowing you to create garments tailored to your fit preferences. Additionally, PDF patterns are environmentally friendly, as you only print the pieces you need. This format also enables easy sharing and storage, making it a practical choice for sewists of all levels. With a free PDF pattern, you can enjoy creative freedom without financial commitment.

Materials and Tools Needed
To create a boxy top, you’ll need lightweight fabric, a sewing machine, scissors, pins, a measuring tape, and basic sewing notions like buttons and thread.
Fabric Requirements
For a boxy top, choose lightweight fabrics like cotton, linen, or rayon for a relaxed fit; Medium-weight knits also work well for a slightly structured look. Ensure fabric has a soft drape for comfort and movement. The pattern requires approximately 1.5 to 2 yards of 45-inch wide fabric, depending on your size and desired length. Pre-wash and dry your fabric before cutting to account for shrinkage. If using a directional print, consider additional yardage for pattern matching. Interfacing or stabilizer may be needed for buttonholes or a facing, depending on your fabric choice and desired finish.

Sewing Tools and Notions
To sew a boxy top, you’ll need basic sewing tools and notions. Start with a sewing machine and a sharp rotary cutter or scissors for cutting fabric. Use pins to secure pattern pieces and a seam ripper for any mistakes. A measuring tape or sewing gauge ensures accurate measurements. Essential notions include all-purpose thread, matching buttons or snaps (if required by the pattern), and a sewing needle for hand-stitching details. Optional items like stabilizer or interfacing may be needed for buttonholes or facings. A serger is helpful for finishing seams, and a walking foot can assist with knits or slippery fabrics. Gather these tools to ensure a smooth sewing process.

Understanding the Pattern
Discover the Boxy Top Sewing Pattern, a free PDF design perfect for all skill levels. Easy to follow, it guides you through creating a stylish, modern top.
How to Download and Print the PDF Pattern
Downloading and printing the Boxy Top PDF pattern is straightforward. Start by saving the file to your device. Ensure your printer settings match the pattern’s requirements, typically US letter or A4 size. Print a test page to confirm the scaling is accurate. Use a large-format printer if available, or tile pages for larger sizes. Once printed, carefully cut and assemble the pattern pieces, aligning marks and edges precisely. Double-check all pages are present and correctly ordered before cutting your fabric. Proper preparation ensures a smooth sewing experience.

Assembling and Preparing the Pattern Pieces
Accurately assembling and preparing your Boxy Top pattern pieces is crucial for a successful sewing project. Begin by matching the pages according to the guides provided, ensuring all edges and marks align properly. Use scissors or a craft knife to trim any excess paper, and employ a ruler to help align the pages precisely. Once assembled, double-check that the pattern is scaled correctly and that no pages are missing. Sort the pieces by size and label them for easy identification. Being meticulous in this step ensures that your fabric will be cut accurately, leading to a well-fitted and professional-looking Boxy Top. Proper preparation now saves time and frustration later.

Step-by-Step Sewing Guide
Welcome to the Step-by-Step Sewing Guide for the Boxy Top pattern. This easy-to-follow guide is perfect for sewists of all skill levels, providing clear instructions and helpful tips to ensure a successful project.
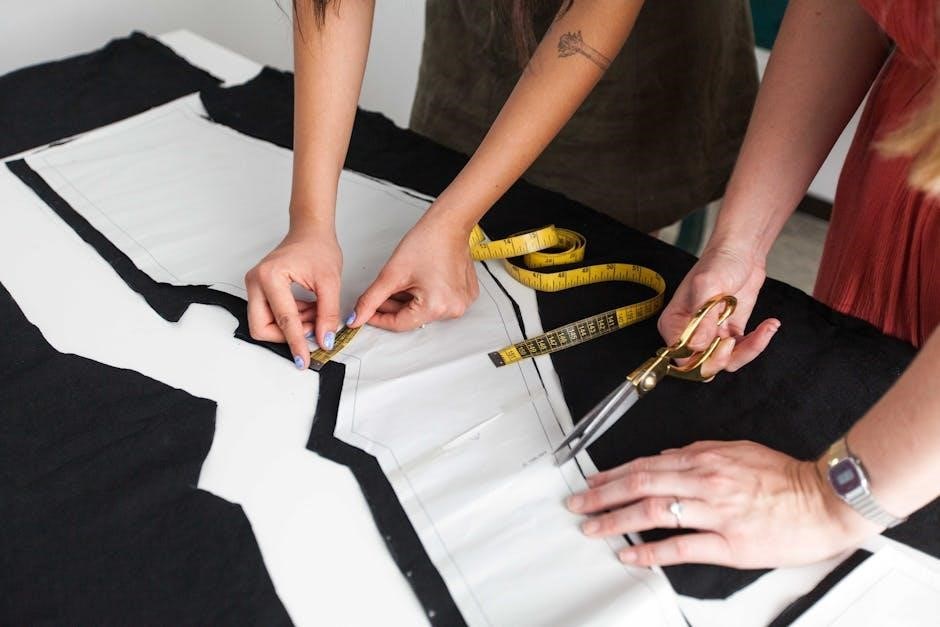
Cutting Out the Fabric
Cutting your fabric accurately is the first step to a successful Boxy Top. Begin by laying out your fabric on a flat surface, ensuring it’s smooth and even. Use your rotary cutter and mat for precise cuts, or sharp scissors if preferred. Match patterns and align grain lines carefully to ensure symmetry. Cut two front pieces and two back pieces, following the pattern markings. Double-check your fabric requirements to avoid shortages. For knits, consider stabilizing with interfacing if needed. Once cut, label each piece to keep track. Handle delicate fabrics gently to prevent stretching. A clean, organized workspace will make the process enjoyable and stress-free.
Sewing the Top Together
With your fabric pieces cut, it’s time to sew the Boxy Top together. Begin by placing the front and back pieces right sides together, aligning the shoulders and sides. Sew along the shoulder seams using a 1/2-inch allowance, backstitching at the start and end for reinforcement. Next, sew the side seams, ensuring the fabric remains smooth and even. Press all seams flat or to one side for a crisp finish. For knits, use a stretch stitch or zigzag to maintain flexibility. For wovens, a straight stitch works perfectly. Take your time to ensure accuracy, as this step lays the foundation for a professional-looking top.
Adding the Neckline and Finishing Touches
Once the top is sewn together, focus on the neckline and finishing details. Fold the raw neckline edge by 1/4 inch, then another 1/4 inch, and press. Fold again by 1/2 inch and sew in place for a clean finish. Alternatively, use a serger or zigzag stitch to prevent fraying before folding. For a polished look, topstitch around the neckline. Ensure all seams are pressed flat or to one side for a professional appearance. Trim any excess thread or fabric for a neat finish. These final touches will elevate your Boxy Top, making it look store-bought and well-crafted.
Tips for a Professional Finish
Achieve a professional finish by pressing seams, using quality notions, and finishing raw edges. Attention to detail ensures a polished, store-bought look for your Boxy Top.
Pressing and Topstitching
Pressing is essential for a professional finish. Use a steam iron to press seams flat, ensuring they lie smoothly. Topstitching adds a polished touch by sewing visible stitches along edges. Use a contrasting thread for a decorative look or match your fabric for subtlety. Pressing before topstitching ensures crisp, even lines. For best results, use a topstitch needle and slightly longer stitch length. This technique reinforces seams and gives your Boxy Top a high-end appearance. Proper pressing and topstitching elevate your garment from homemade to boutique-quality, making it worth the extra effort.

Customizing Your Boxy Top
Customizing your Boxy Top allows you to add personal touches and make it uniquely yours. Start with fabric choice—opt for bold prints, soft knits, or luxurious linens. Add functional details like side pockets or a chest pocket for practicality. Experiment with design elements such as button closures, ruffles, or gathering at the neckline. Adjust the length by shortening or lengthening the hem, or add sleeves for a different silhouette. Embellish with embroidery, appliqué, or contrasting topstitching. These tweaks let you tailor the pattern to your style, ensuring your Boxy Top stands out as a one-of-a-kind creation.

The Boxy Top Sewing Pattern is a free PDF that makes creating a stylish, customizable top easy and enjoyable for sewists of all levels, ensuring a fun and rewarding experience.
Troubleshooting Common Mistakes
When sewing a boxy top, common mistakes include misaligning fabric, incorrect seam allowances, or uneven hems. To fix these, double-check pattern alignment, use a walking foot for stability, and press seams thoroughly. For neckline issues, ensure interfacing is properly fused and topstitch carefully. If the fit feels off, adjust the side seams or consider resizing the pattern. Remember, small errors can often be corrected without starting over. Practice patience, and don’t hesitate to consult tutorials or sewing communities for guidance. Mistakes are part of the learning process, and with time, your skills will improve, leading to professional-looking results.
- Check fabric alignment before cutting.
- Use a walking foot for smooth sewing.
- Press seams to ensure accuracy.
- Adjust fit as needed during construction.
Final Thoughts and Encouragement
Congratulations on completing your boxy top! This project is a great achievement, whether you’re a beginner or an experienced sewist. Take pride in knowing you’ve created something unique and tailored to your style; The skills you’ve gained, from working with a PDF pattern to understanding fabric choices, are invaluable. Don’t hesitate to wear your top proudly and share your creation with others. Sewing is a journey, and every project brings growth and confidence. Embrace the process, and remember, it’s okay to make mistakes—they’re part of learning. Keep sewing, experimenting, and enjoying the joy of creating something with your own hands!
- Celebrate your accomplishment and wear your top with pride.
- Continue exploring sewing projects to build your skills.
- Embrace mistakes as part of the learning process.
- Share your creations and inspire others to sew.