
Welcome to the world of premium coffee with Jura coffee machines. Known for their simplicity and performance‚ these superautomatic espresso machines craft perfect shots and milk-based drinks effortlessly. Whether you’re a coffee novice or an enthusiast‚ Jura machines like the S8 and E8 offer intuitive designs and advanced features to elevate your brewing experience. This guide will help you navigate setup‚ operation‚ and maintenance to ensure optimal performance and delicious results every time.
1.1 Overview of Jura Coffee Machines
Jura coffee machines are high-end‚ superautomatic espresso machines designed for effortless brewing. Models like the S8 and E8 combine sleek designs with advanced features‚ offering one-touch operation for espresso‚ coffee‚ and milk-based drinks. Built-in grinders‚ customizable settings‚ and user-friendly interfaces make them ideal for both novices and coffee enthusiasts. Their compact builds and premium finishes suit modern kitchens‚ balancing simplicity with sophistication for a perfect coffee experience.
1.2 Importance of Reading the Instruction Manual
Reading the Jura coffee machine manual is essential for optimal performance and troubleshooting. It guides you through initial setup‚ like rinse cycles‚ and helps you understand features such as strength settings and custom options. The manual also covers error messages and maintenance tips‚ ensuring you avoid common issues. By following the manual‚ you can maximize your machine’s potential and enjoy a perfect coffee experience every time.
Unboxing and Initial Setup
Unbox your Jura coffee machine carefully‚ ensuring all accessories are included. Place it on a flat surface‚ plug it in‚ and complete the initial rinse cycle.
2.1 Unpacking the Machine and Accessories
Carefully unpack your Jura coffee machine and accessories‚ including the power cord‚ water tank‚ coffee grounds container‚ and drip tray. Inspect for damage and ensure all parts are included; Optional accessories like milk systems may also be provided. Handle the machine with care to avoid scratches or damage. Place all components on a clean‚ flat surface and refer to the manual for initial setup instructions.
2.2 Placing the Machine and Connecting to Power
Place the Jura coffee machine on a stable‚ flat surface‚ ensuring at least 4 inches of clearance around it for proper ventilation. Avoid direct sunlight and moisture. Plug the power cord into a grounded electrical outlet‚ ensuring the voltage matches the machine’s specifications. Avoid overloading the outlet with other appliances to prevent damage or electrical issues.
2.3 Initial Rinse Cycle and Preparation
After plugging in‚ the machine will automatically start the rinse cycle. Water flows through the coffee spout‚ stopping on its own. The Coffee Grounds Container symbol will light up. Empty and rinse the grounds container and drip tray with warm water‚ then reinsert them. The machine is now ready for use‚ with the Ristretto‚ Espresso‚ and Coffee symbols illuminated‚ indicating it’s prepared for brewing.
Understanding the Machine Controls
The Jura coffee machine features an intuitive interface with clear symbols for Ristretto‚ Espresso‚ and Coffee options. Navigate the menu to customize settings for a personalized brewing experience.
3.1 Familiarizing Yourself with the Interface
The Jura coffee machine features a user-friendly interface with clear symbols and buttons. Start by identifying the power button‚ coffee strength selector‚ and cup size options. The display screen guides you through settings and maintenance. After the initial rinse‚ the machine highlights key symbols like the Coffee Grounds Container and drip tray indicators. Explore the menu to discover customization options for your perfect brew.
3.2 Navigating the Menu and Settings
The Jura coffee machine’s menu is intuitive‚ allowing easy adjustment of coffee strength‚ cup size‚ and other preferences. Use the navigation buttons to scroll through options‚ and confirm selections with the central button. The display screen provides clear guidance‚ from brewing options to maintenance reminders. Experiment with settings to tailor your coffee experience‚ and save your preferences for quick access in future brews.

Brewing Your First Cup
Brewing your first cup is straightforward. After the rinse cycle‚ the machine is ready. The Ristretto‚ Espresso‚ and Coffee symbols light up‚ offering options for brew.
4.1 Selecting Coffee Strength and Cup Size
Selecting coffee strength and cup size is easy. Use the interface to choose from options like Ristretto‚ Espresso‚ or Coffee. Adjust strength levels to suit your taste. The machine automatically adjusts grind and water quantity for the perfect brew. Once selected‚ the corresponding symbols light up‚ confirming your choice. This ensures a personalized coffee experience tailored to your preferences every time you brew.
4.2 Using the Ristretto‚ Espresso‚ and Coffee Options
Explore the Ristretto‚ Espresso‚ and Coffee options for tailored brewing. Ristretto delivers a concentrated shot‚ while Espresso offers a classic experience. Coffee provides a longer brew. Each option adjusts grind size and water quantity automatically. The machine lights up corresponding symbols‚ guiding you through the process. This ensures a perfect balance of flavor and crema‚ whether you prefer a strong shot or a full cup of coffee.
Maintenance and Cleaning
Regular maintenance ensures optimal performance. Daily cleaning involves emptying the grounds container and drip tray‚ while descaling prevents mineral buildup. Follow the machine’s rinse cycle and guidelines for longevity.
5;1 Daily Cleaning Routine
Start by emptying the coffee grounds container and drip tray‚ rinsing them with warm water. Reinsert both parts securely. Run the machine’s automatic rinse cycle‚ which stops on its own. Wipe the exterior with a damp cloth to remove splatters. Regularly check and refill water levels to ensure smooth operation. This routine maintains hygiene and prevents old coffee oils from affecting flavor.
5.2 Descaling and Water Filter Maintenance
Regular descaling is essential to remove mineral buildup and ensure optimal performance. Use a Jura-approved descaling solution and follow the machine’s prompts for the descaling cycle. Replace the water filter every 2-3 months or as indicated by the machine. This maintains water quality and prevents scale buildup‚ ensuring your coffee tastes its best. Always refer to the manual for specific instructions.
Customizing Your Coffee Experience
Jura coffee machines allow you to tailor your coffee experience by adjusting settings like grind size‚ coffee strength‚ and cup size to suit your preferences perfectly.
6.1 Adjusting Grind Settings and Coffee Quantity
Jura coffee machines allow you to customize your brew by adjusting grind settings and coffee quantity. Use the interface to fine-tune the grind size for optimal extraction. Adjust the amount of coffee grounds to suit your preferred strength. These settings ensure a personalized brewing experience‚ enabling you to achieve the perfect balance of flavor and aroma in every cup. Experiment with different configurations to find your ideal setup.
6.2 Programming Custom Settings for Different Users
Jura coffee machines offer the convenience of programming custom settings for multiple users. Use the intuitive interface to save individual preferences‚ such as coffee strength‚ cup size‚ and grind settings. This feature ensures that each user can enjoy their perfect cup without adjusting settings every time. Simply navigate to the settings menu‚ select the user profile option‚ and save your desired configurations for a personalized brewing experience tailored to your taste.
Troubleshooting Common Issues
Identify error messages and resolve them using the manual. Resetting the machine to factory settings often fixes issues. Refer to the user manual for detailed solutions.
7.1 Error Messages and Their Solutions
Common error messages on Jura machines include the “Coffee Grounds Container” and “Drip Tray” alerts. These indicate the need to empty or clean these components. Other errors may relate to water flow or temperature issues. Refer to the user manual for specific solutions‚ such as resetting the machine or descaling. Always follow the recommended troubleshooting steps to maintain optimal performance and prevent damage.
7.2 Resetting the Machine to Factory Settings
To reset your Jura coffee machine to factory settings‚ navigate to the menu‚ select “Settings‚” and choose “Factory Reset.” Confirm the action‚ and the machine will revert to default settings. Note that this will erase all custom settings. After resetting‚ refer to the user manual to reprogram your preferences. This process ensures optimal performance and resolves persistent issues that basic troubleshooting cannot fix.
Safety Precautions
Always handle hot surfaces and moving parts with care. Keep children away and avoid touching sharp components. Refer to the manual for detailed safety guidelines.
8.1 General Safety Guidelines
Always handle hot surfaces with care and keep children away from the machine. Ensure the Jura coffee machine is placed on a stable‚ heat-resistant surface. Avoid touching sharp components or moving parts during operation. Regularly clean up spills to prevent slipping hazards. Use only original Jura accessories to maintain safety and performance. Follow the instruction manual’s guidelines to prevent accidents and ensure optimal functionality.
8.2 Handling Hot Surfaces and Moving Parts
Avoid touching hot surfaces like the brewing unit or steam wand during operation. Use protective gear like oven mitts when handling hot components. Keep fingers away from moving parts‚ such as the grinder or brew group‚ to prevent injury. Always allow the machine to cool before cleaning. Never insert objects into moving parts‚ and ensure the area is clear of flammable materials. Unplug the machine before servicing.
Additional Features and Accessories
Discover additional features like the coffee grounds container and drip tray for convenient cleanup. Optional accessories enhance functionality‚ ensuring a tailored coffee experience.
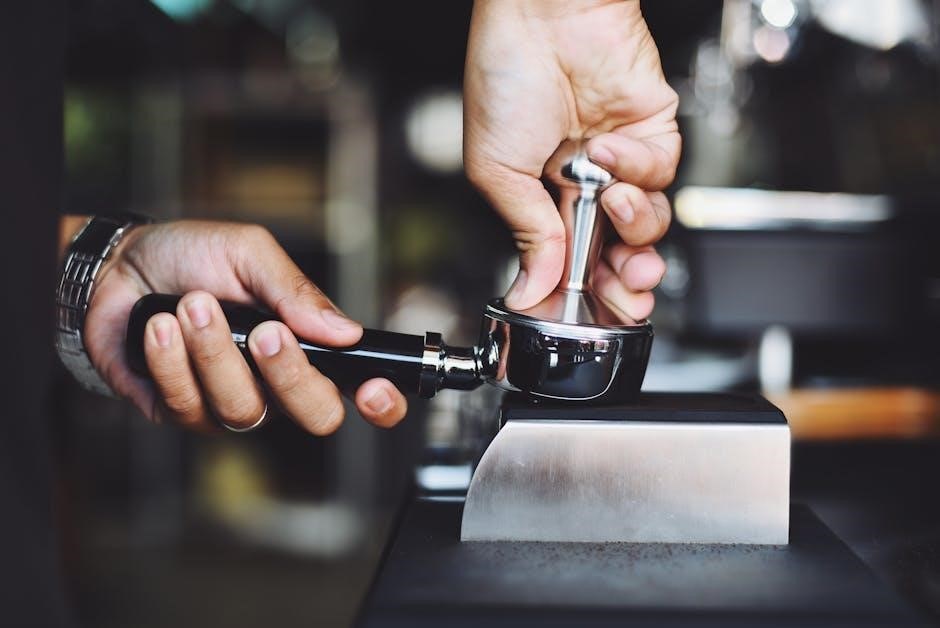
9.1 Using the Coffee Grounds Container and Drip Tray
The coffee grounds container and drip tray are essential for maintaining your Jura machine. After brewing‚ empty the grounds container and rinse it with warm water. The drip tray collects excess water and should be emptied regularly to prevent spills. Both components are designed for easy removal and cleaning‚ ensuring hygiene and optimal machine performance. Regular maintenance of these parts keeps your Jura running smoothly.
9.2 Optional Accessories for Enhanced Functionality
Enhance your Jura coffee machine experience with optional accessories. A milk system or integrated grinder can elevate your brewing capabilities. Additional accessories like water filters or cleaning tablets ensure optimal performance. Visit retailers like Consiglios Kitchenware for compatible products. These extras tailor your machine to your preferences‚ offering greater convenience and customization for the perfect cup every time.
User Manual and Resources
Download the PDF user manual for your Jura coffee machine to explore features‚ troubleshooting guides‚ and maintenance tips. Access online support and additional resources for optimal performance and customization.
10.1 Downloading the PDF User Manual
To download the PDF user manual for your Jura coffee machine‚ visit the official Jura website or authorized retailers like Consiglios Kitchenware. This comprehensive guide covers setup‚ operation‚ maintenance‚ and troubleshooting tips to ensure optimal performance. Additionally‚ Jura provides online support‚ FAQs‚ and video tutorials to enhance your coffee-making experience. Referencing these resources ensures you get the most out of your Jura coffee machine.
10.2 Accessing Online Support and Guides
For additional assistance‚ visit the official Jura website or authorized retailers like Consiglios Kitchenware. These platforms offer downloadable user manuals‚ FAQs‚ and video tutorials. Online support guides provide troubleshooting tips‚ maintenance advice‚ and detailed instructions for optimal machine performance. Accessing these resources ensures you can address common issues and explore advanced features to enhance your coffee-making experience with your Jura coffee machine.
11.1 Final Tips for Optimal Performance
Congratulations! Your Jura coffee machine is now fully operational. Enjoy crafting perfect coffee with ease. Refer to online guides for troubleshooting and maintenance tips.
Regularly descale and maintain your Jura machine for peak performance. Adjust grind settings and coffee strength to suit your taste. Empty the grounds container and drip tray daily to prevent clogs. Refer to the user manual for troubleshooting guides and explore online resources for advanced tips. Experiment with Ristretto‚ Espresso‚ and Coffee options to find your perfect brew. Happy brewing!